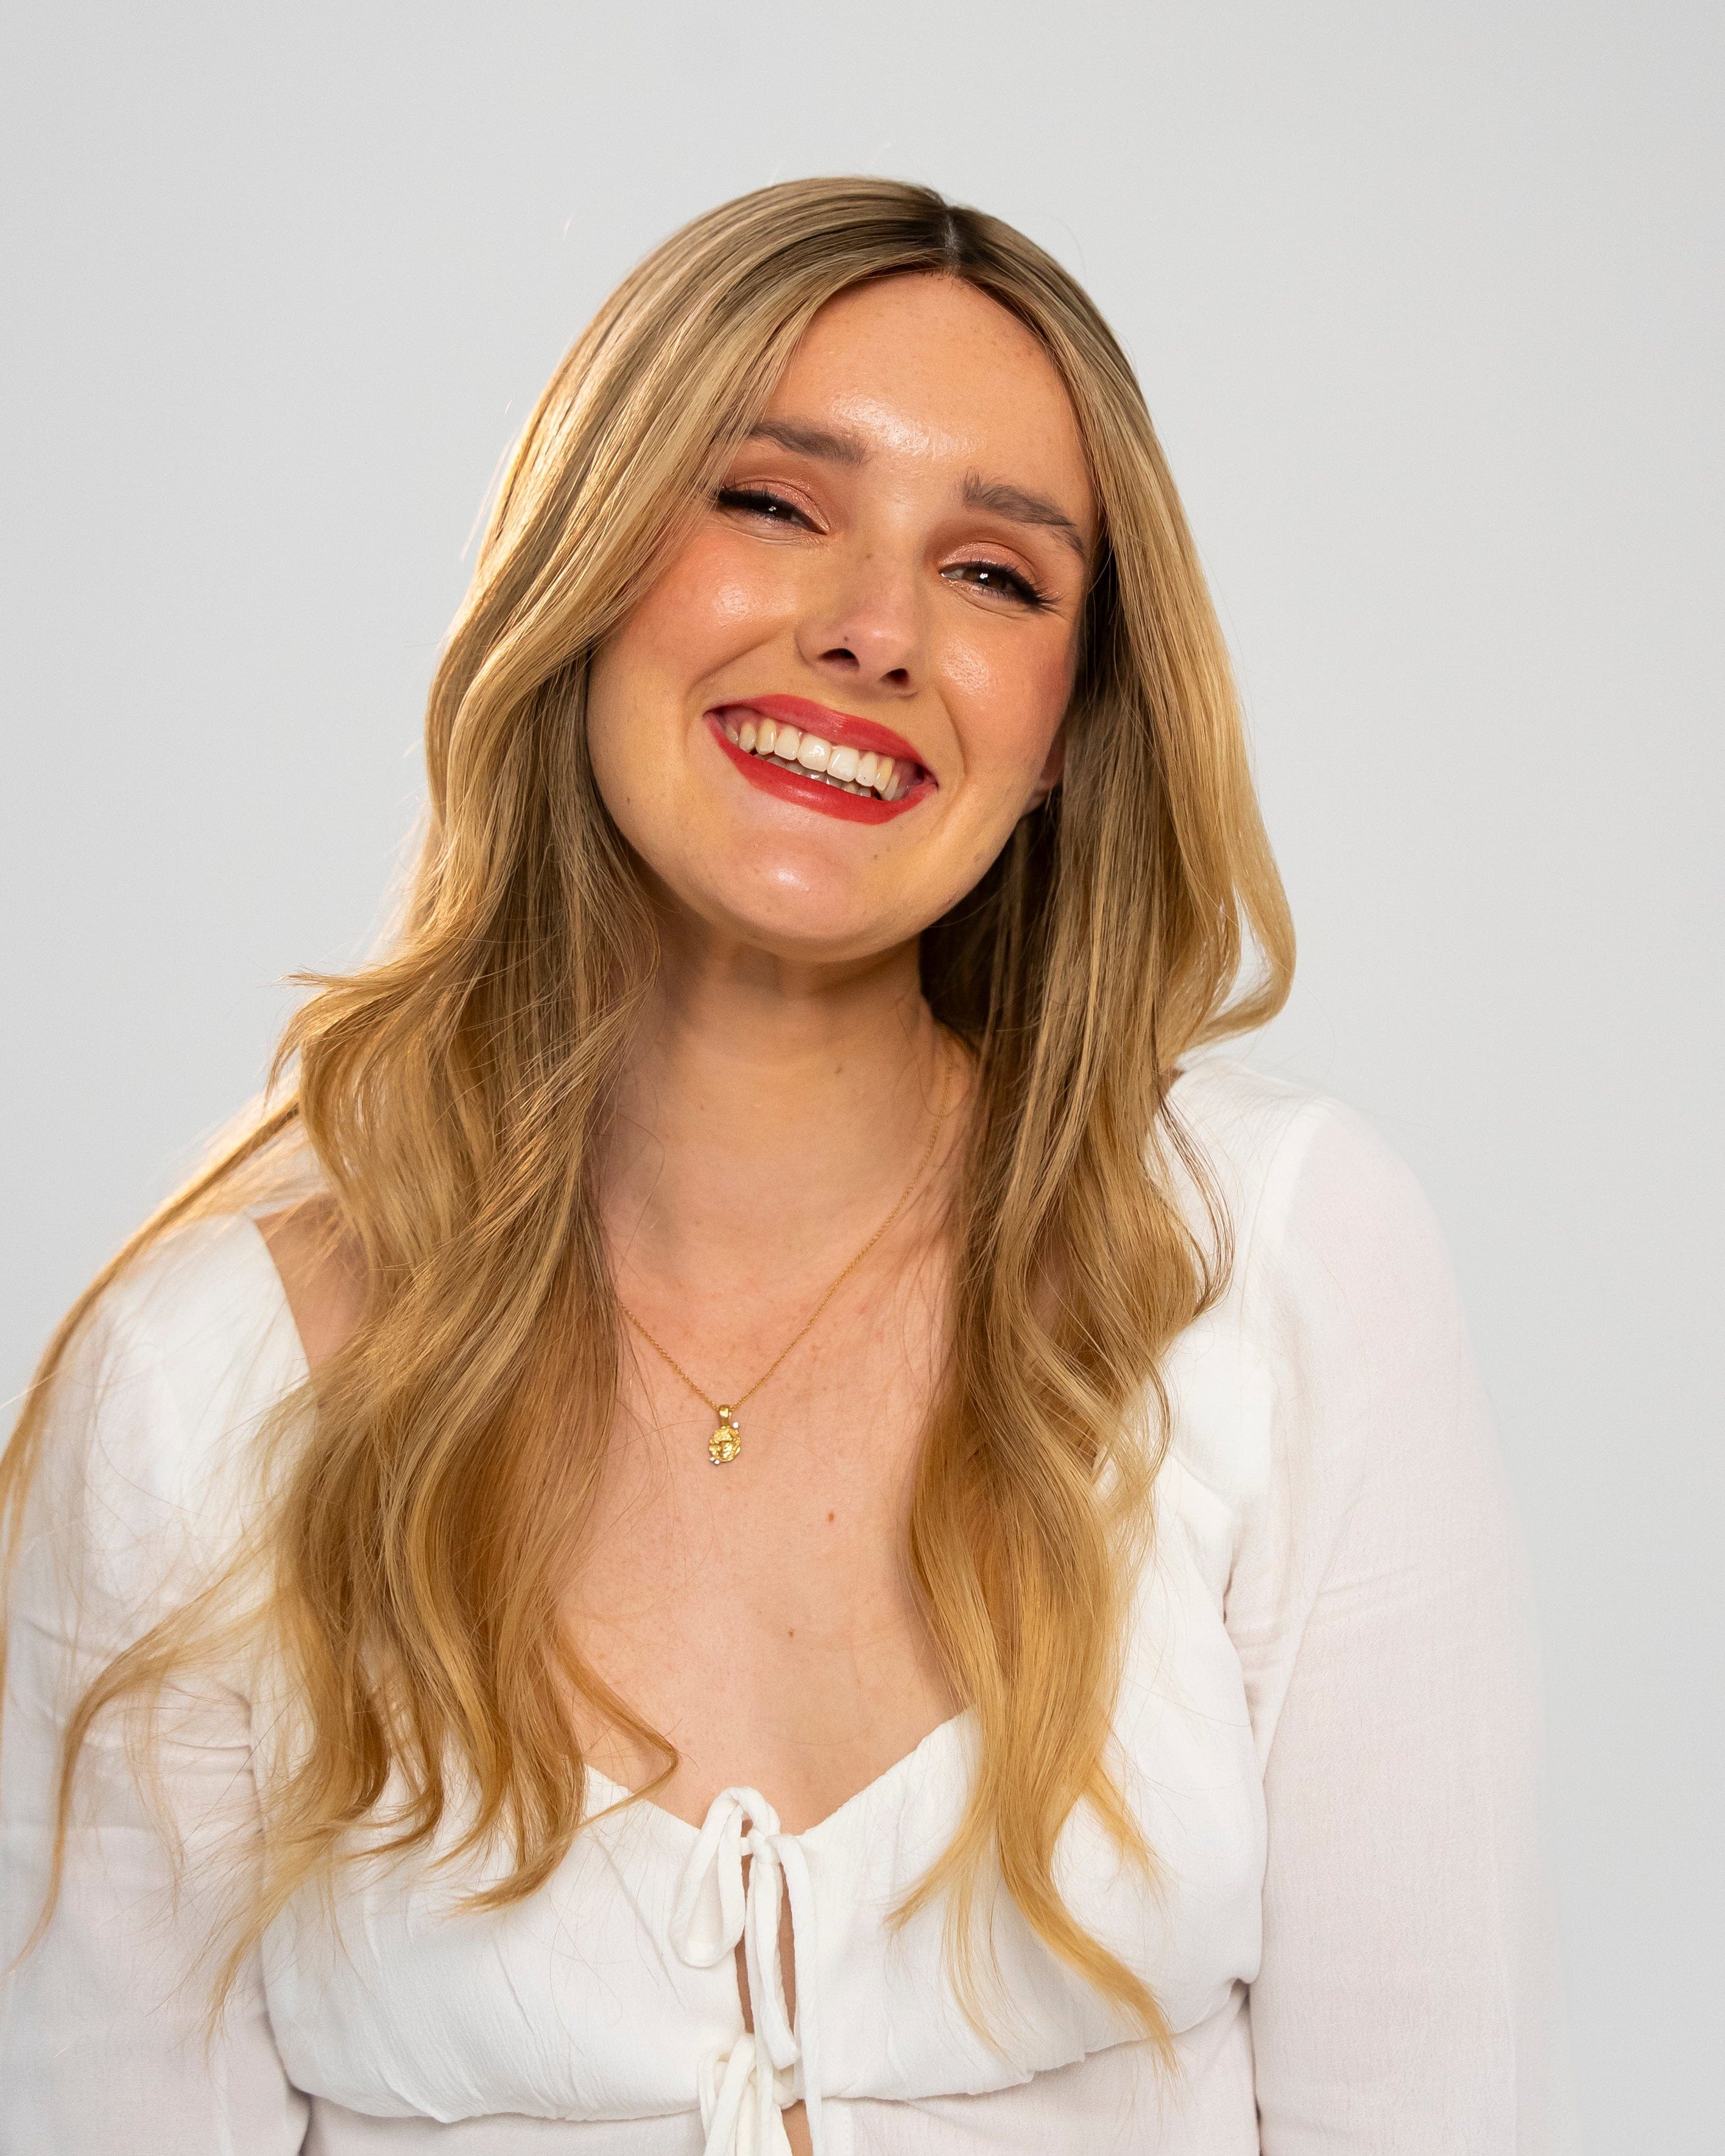
Hey hey! Holly here to spill all my alopecia makeup tips and tricks.
I was born with alopecia. This came in the form of a large patch of hair missing on my head. By the time I was 6 years old, all of the hair on my scalp was gone. Then, when I was in my early 20's I lost my eyebrows, eyelashes and all my body hair.
It took a lot of trial and error to perfect my makeup routine. I have tried SO many options for nearly every step. But, I've learned a lot and think I've finally nailed it!!

For me, I love wearing all the 'extras'. I love how my temporary tattoo brows frame my face and how my false lashes bring out my eyes. It makes me feel GOOD. But, I want you to know that you don't NEED to do any of these things to be beautiful. You don't need to conform to societies standards. If wearing all the extras makes you feel good and confident then go for it! If you wear all the extras some days and other days go without, that's totally fine too.
But, if you do choose to do full makeup as an alopecia girl, you have to steal my tips 😉
EYEBROWS
I have tried a few eyebrow solutions over the years. These are my honest opinions.
Eyebrow Wigs
Yep, eyebrow wigs are 100% a thing. They were also my go-to solution for many years! These 'wigs' are like little stickers with synthetic hair on them that you glue down to your brow bone.
PROS
✅ Pretty easy to attach
✅ Lasts a long time
✅ Look quite realistic
CONS
❌ I ended up having an allergic reaction to the glue needed to adhere them
❌ Not a great solution for people with sensitive skin

Drawing them on
This solution sounds simple, but isn't 😅 If you're a makeup pro, then you'll probably nail this! But for me, not so much.
PROS
✅ Cheap and accessible: all you need is a brow pencil!
CONS
❌ SO time consuming to do every day
❌ Not easy (you're going to need some artistic talent)
❌ Not very realistic

Microblading
Microblading is essentially permanently tattooing your brows on. I personally didn't have a great experience with this but others rave about it!
PROS
✅ Lasts at least a few months
CONS
❌ Quite expensive (especially if they fade quickly like they did for me!)
❌ Didn't look very realistic
❌ Can be painful to have done
Temporary Tattoo Transfers
If you know me, you know this is my FAVOURITE eyebrow solution by FAR! I'm obsessed. So much so, I created my very own tattoo brow brand. You can shop Lusta Brows HERE.

PROS
✅ Only need to apply them every 5-7 days!
✅ Water-proof, sweat-proof
✅ Super, duper realistic
✅ Easy to apply
✅ Cost-effective
CONS
❌ Not the right solution for people who still have some of their own brows

Okay so now you know that temporary tattoo transfer are my favourite brow solution! Let's talk about my top tips for applying transfer brows:
1. Apply to completely clean, dry skin. That means remove any makeup, make sure you don't have any left over moisturizer on your skin....you want a completely clean, dry surface! My brows are always the first step of my makeup routine.
2. Don't freak out if they look to shiney when you first put them on! They need a moment to dry and 'mattify'. If you have an oiler skin type you may also benefit from adding some mattifying powder over the top.
3. To allow them to last as long as possible, avoid touching your brows as much as possible. That means no rubbing your brows throughout the day or scrubbing them in the shower. The brows are waterproof, so water running over them won't remove them, but friction will!
EYELASHES
Oh lashes....my greatest foe. Finding out how to do my eyelashes was definitely the most difficult part of my alopecia journey. Hair? No problem. Eyebrows? A breeze. Lashes? Ughhhhhhhhh.
I hate to break this to you, but nailing the lashes is no easy task. It takes a LOT of practice and patience. But, you'll get it!
To copy my eyelash routine you'll need:
✅ Strip lashes of your choice (I use Lexi J Cosmetics)
✅ Black eyelash glue (I use Duo Glue)
✅ Patience
Here's what I do step-by-step:
1. Apply a thin line of black lash glue to my strip lashes
2. Use my black lash glue to create a winged eyeliner shape on my eye. This is the part that really takes some practice!
3. By this point, the glue applied to the lash has become tacky. Now, I carefully line it up to my eyelid and stick it in place.
Using black lash glue fills in the 'gap' between the edge of my eyelid and the lash, disgusing that it's not actually growing out of my eyelid!
If you're more of a visual learner, watch this video.
Let me know if you try any of these tips for yourself! And, if you need any help or want more advice feel free to get in touch with me. I'd be more than happy to help.


